Introduction
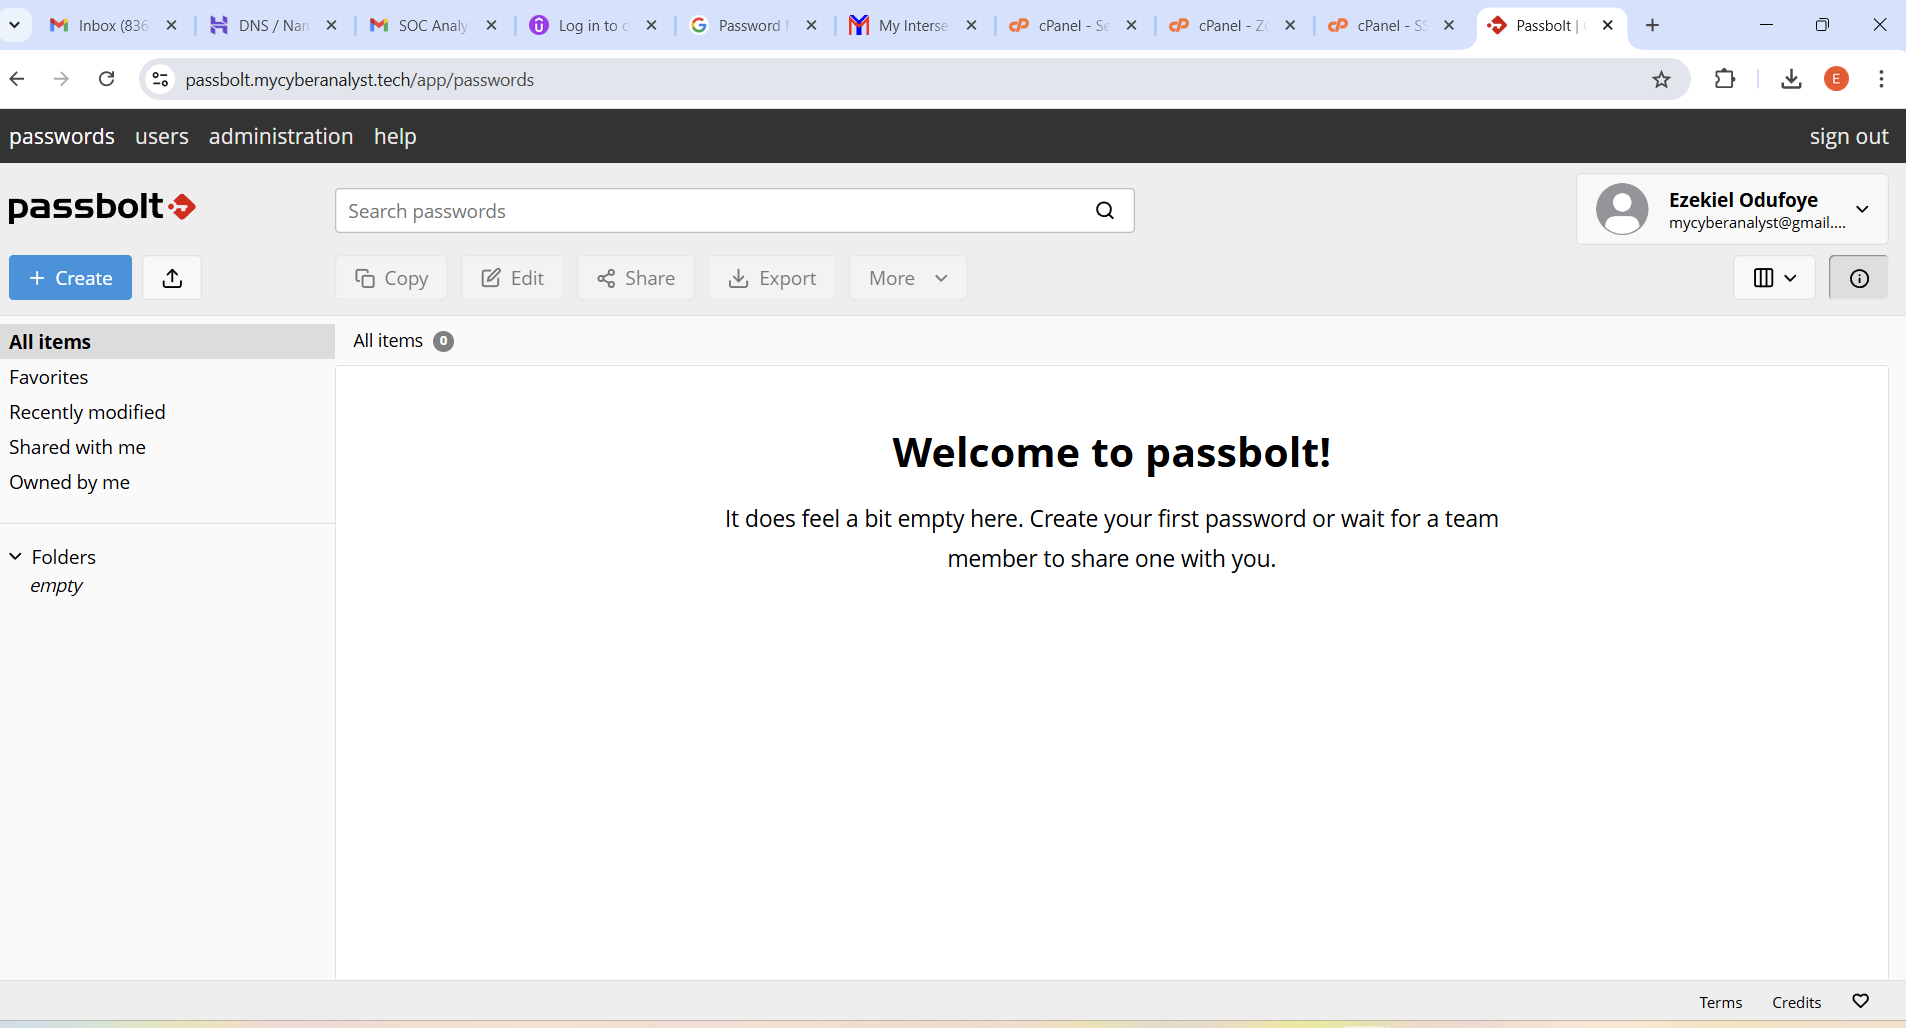
Passbolt is an open-source, self-hosted password manager designed for teams and businesses that need secure and granular control over their credentials. Hosting Passbolt on AWS provides scalability, security, and high availability. In this guide, I’ll walk you nthrough the process of deploying Passbolt on an AWS EC2 instance.
Before we begin, ensure you have the following:
Prerequisite:
- An AWS account with permissions to create EC2 instances, security groups, and elastic IPs.
- A domain name (optional, but recommended).
- An SSH key pair for secure access to the EC2 instance.
- Basic knowledge of Linux commands and AWS services.
Optional domain:
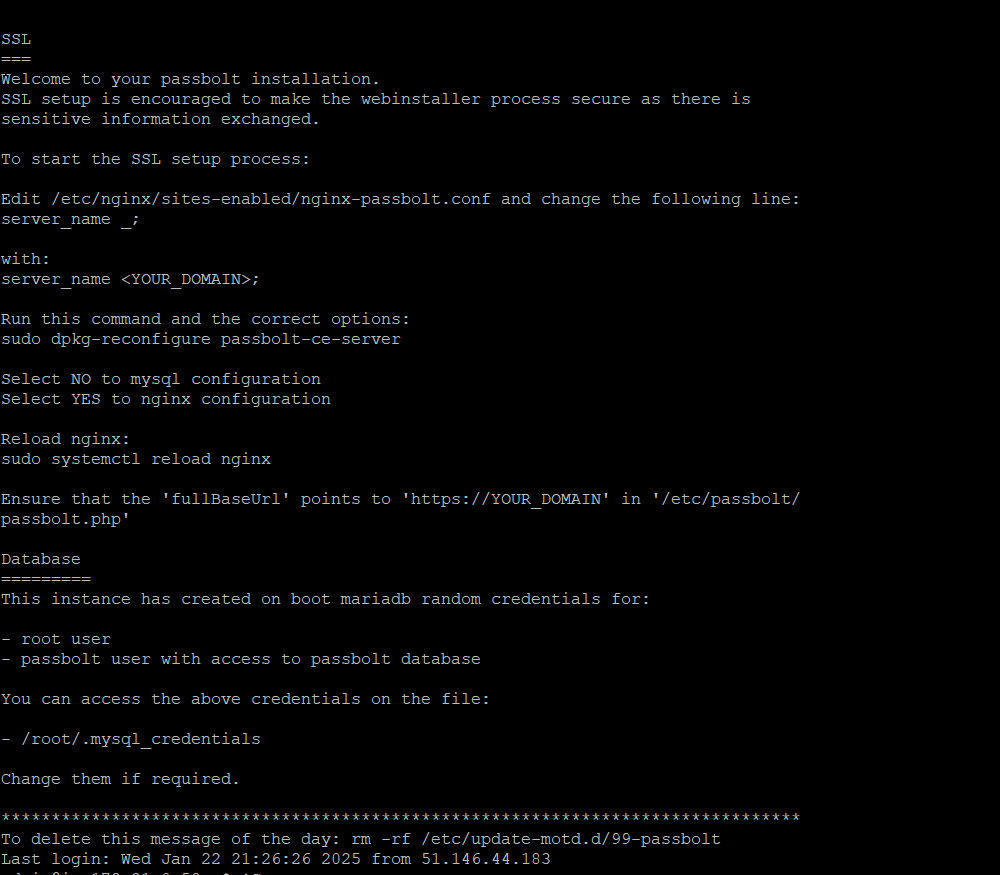
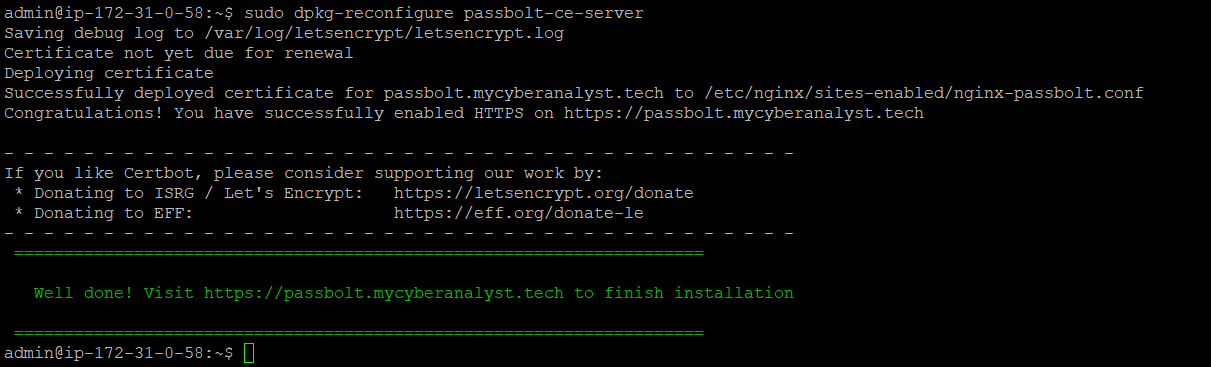
I already purchase www.mycycyberanalyst.tech and created a subdomain passbolt.mycyberanalyst.com which hold the password manager. You can get a cheap domain from Namecheap. Please note that you can no longer access the project from passbolt.mycyberanalyst.tech due to cost of hosting on AWS.
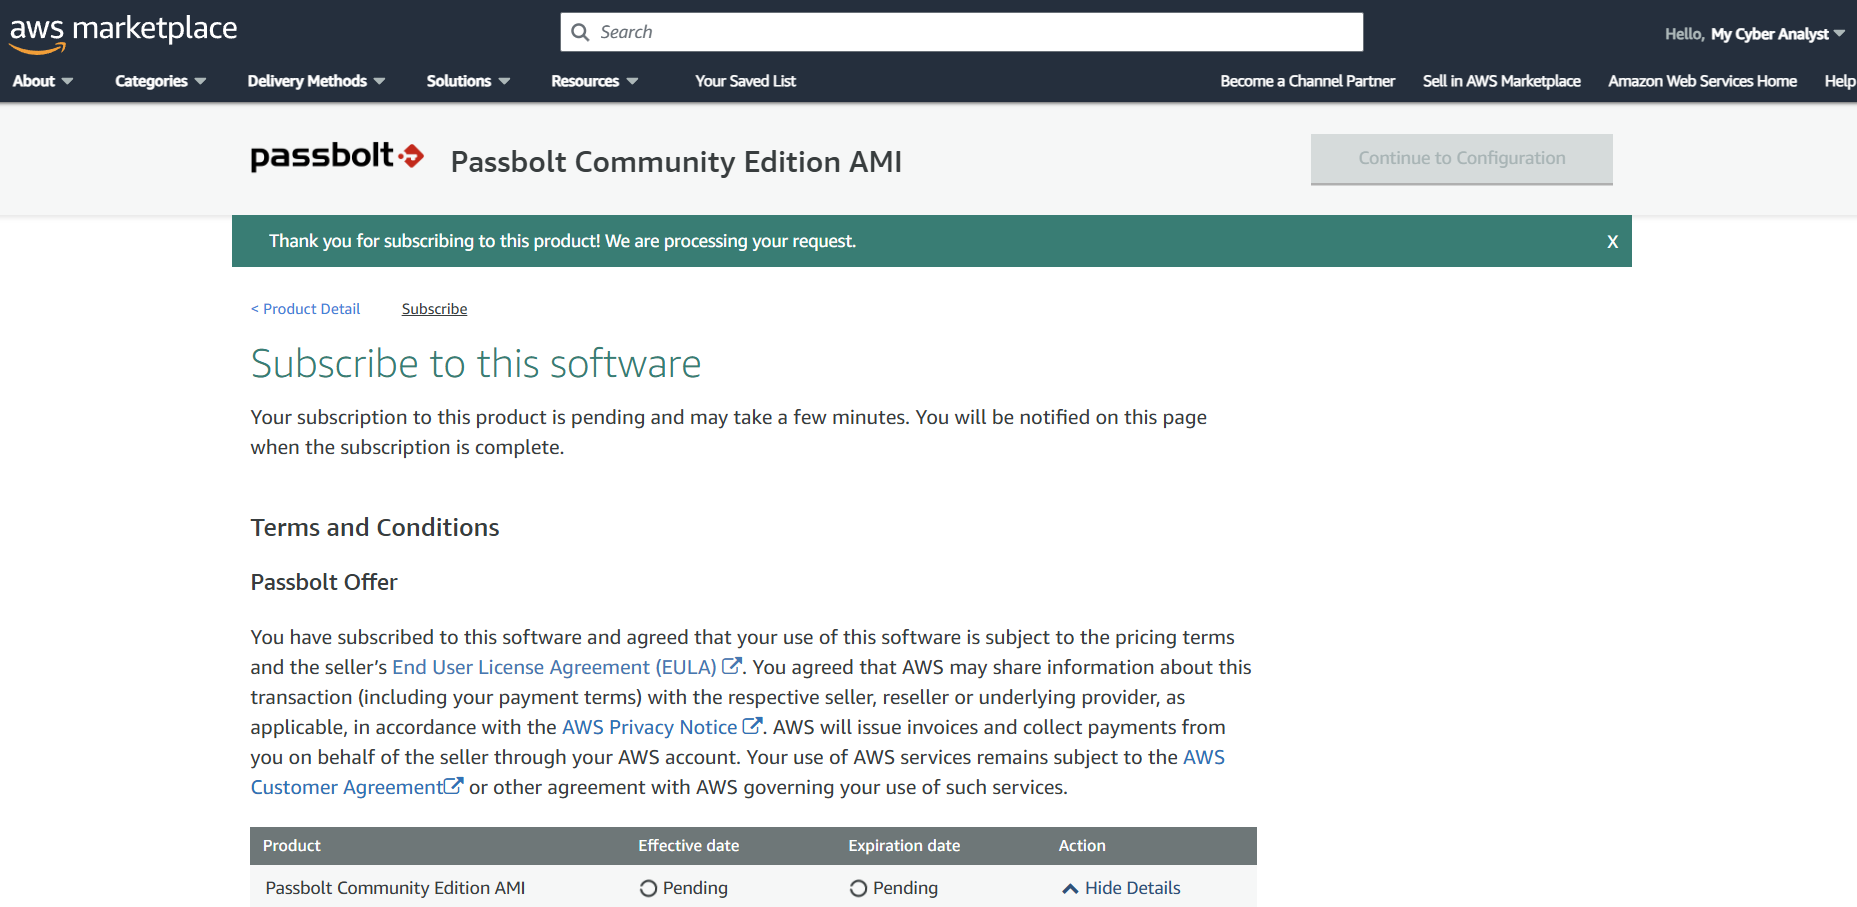
Step 1: Launch Passbolt from AWS Marketplace
Go to AWS Marketplace
Visit AWS Marketplace and search for Passbolt Community Edition.
Click on the Passbolt CE AMI, then select Continue to Subscribe and Continue to Configuration.
Configure the Instance
Choose the Region where you want to deploy the instance.
Select the EC2 instance type (Recommended: t3a.small or higher).
Set up storage (20GB minimum).
Create a Security Group with the following rules:
SSH (22) → Allow only your IP
HTTP (80) & HTTPS (443) → Allow from all
TCP 3306 (MySQL) → Only if you use a remote database
Attach Your SSH Key and launch the instance.
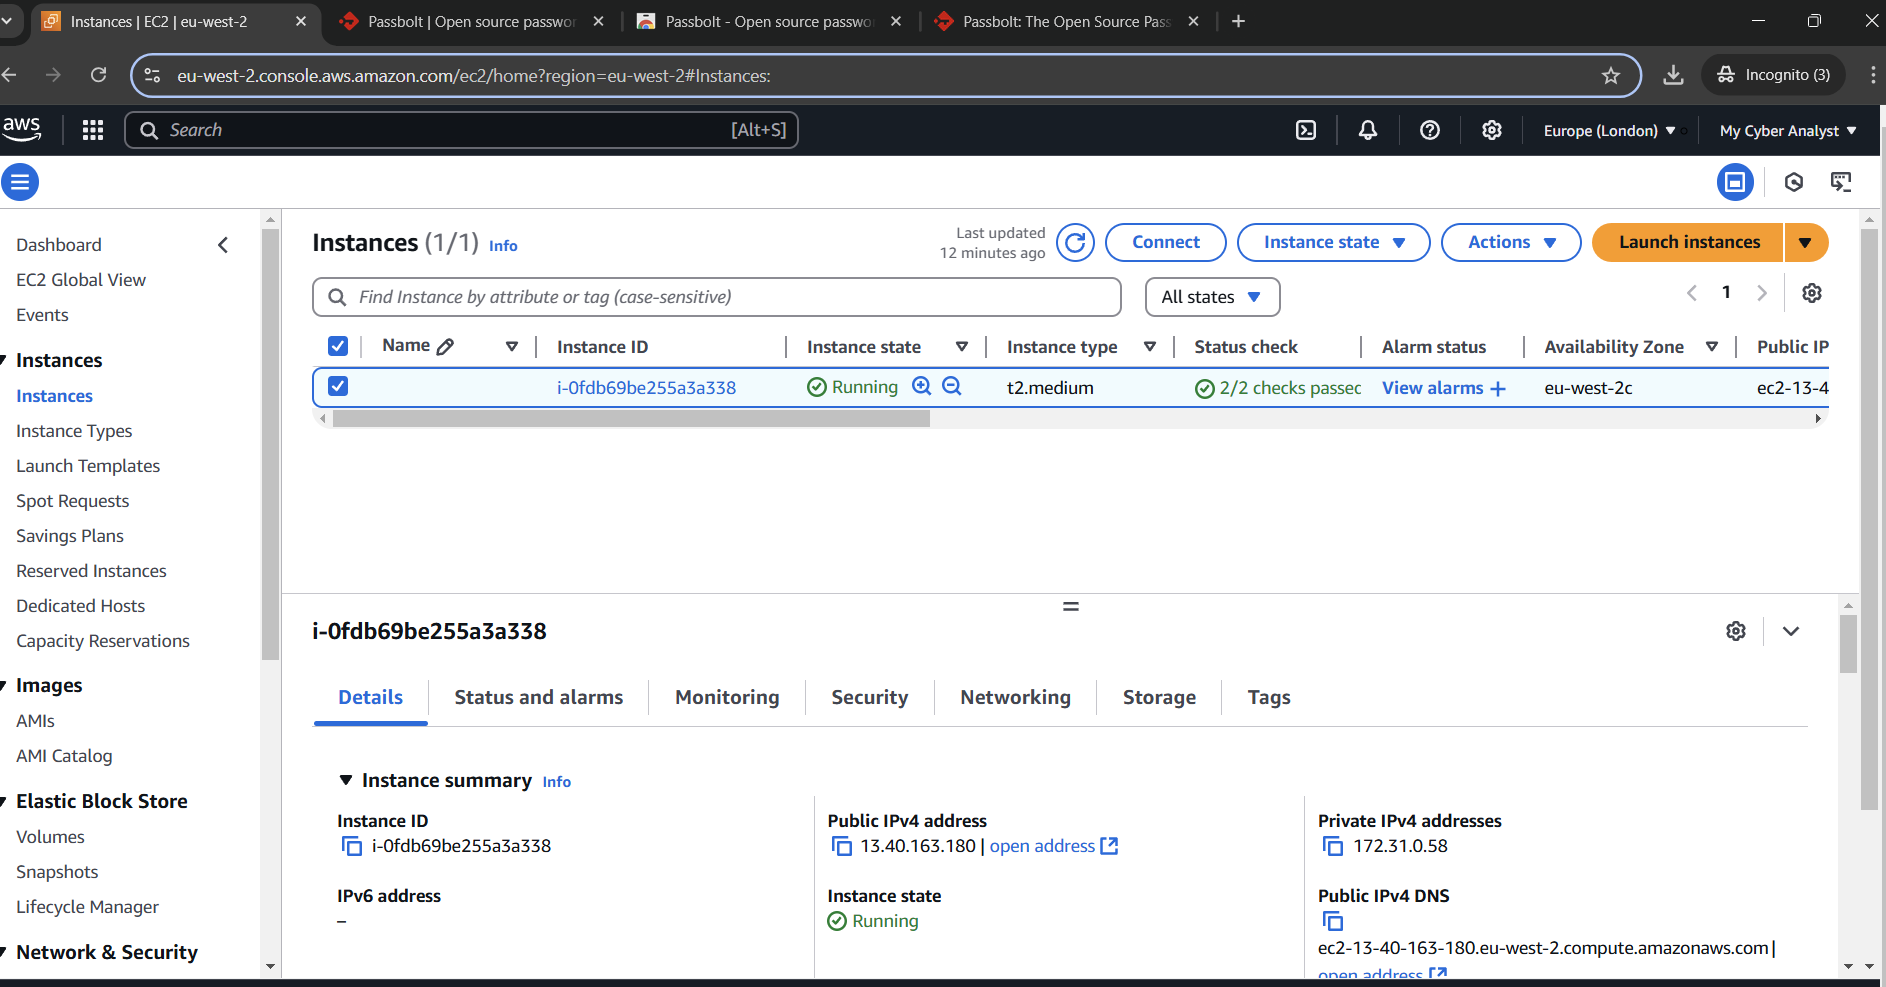
Step 2: Access the Server
Find Your Public IP
Go to the EC2 Dashboard → Click on your Passbolt instance → Copy the Public IPv4 address.